


Beginner's Guide to Straight Razor Shaving

So, you've just unboxed your very first straight razor—sleek, sharp, and slightly intimidating. Excitement and nerves mix as you admire its craftsmanship, only to realize... you’re not exactly sure what to do next.
If you're like most beginners, you might be thinking, "Shouldn’t this come with an instruction manual?" The thrill of owning such a classic grooming tool quickly turns into hesitation. How do you hold it? How do you shave with it without nicking your face—or your confidence?
Don't worry—you're not alone. Every straight razor journey starts with a bit of uncertainty. Whether it's the intimidating gleam of the blade or the refined feel of the wooden scale, it’s perfectly normal to feel overwhelmed.
That’s why we’ve created this beginner’s guide to straight razor shaving—to turn hesitation into confidence, one smooth stroke at a time.
The Shaving Essentials
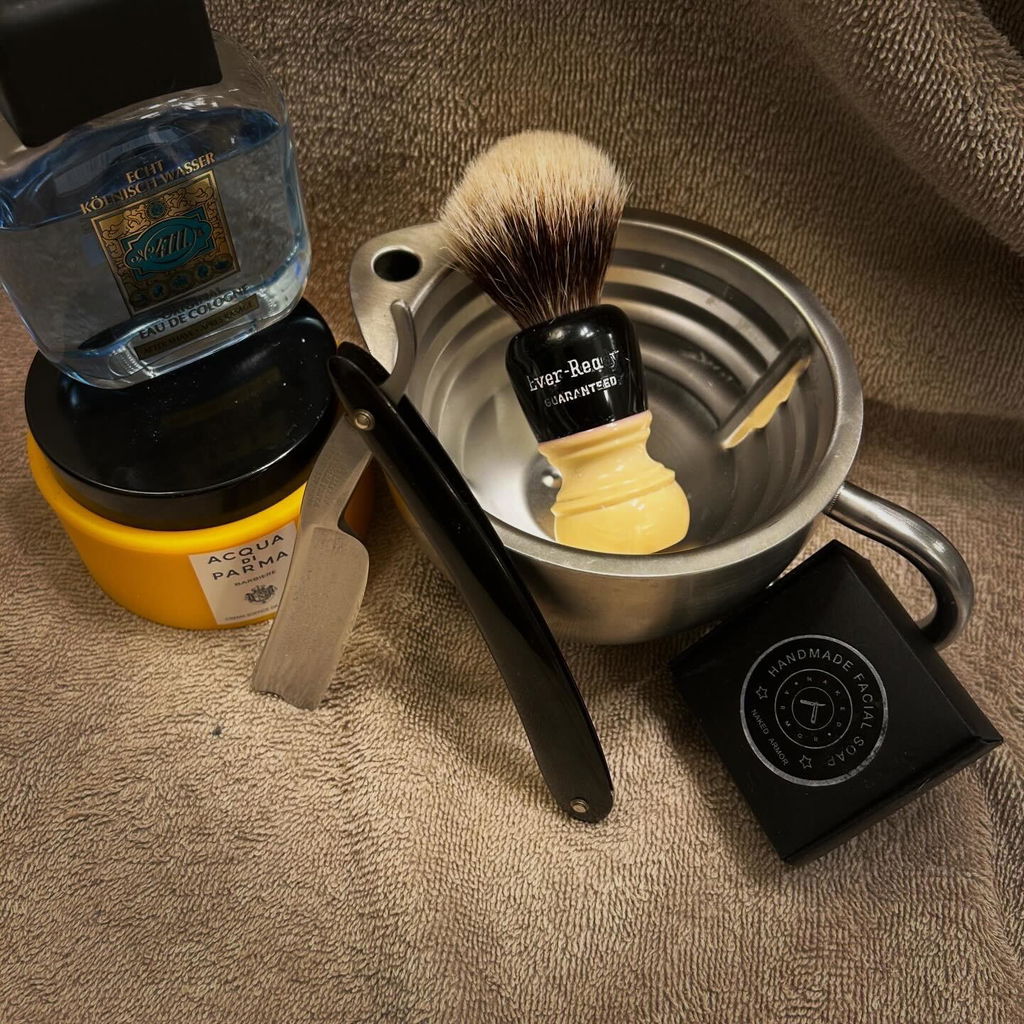
 When you get a Naked Armor Straight Razor Kit, you’ll have everything you need to begin your straight razor shaving journey.
Before you go on wielding that blade, you have to prepare the rest of your tools. Now, if you purchased any one of our Naked Armor Straight Razor Kits, you will have everything you need to start shaving. But just to list down the essentials, you must have:
-
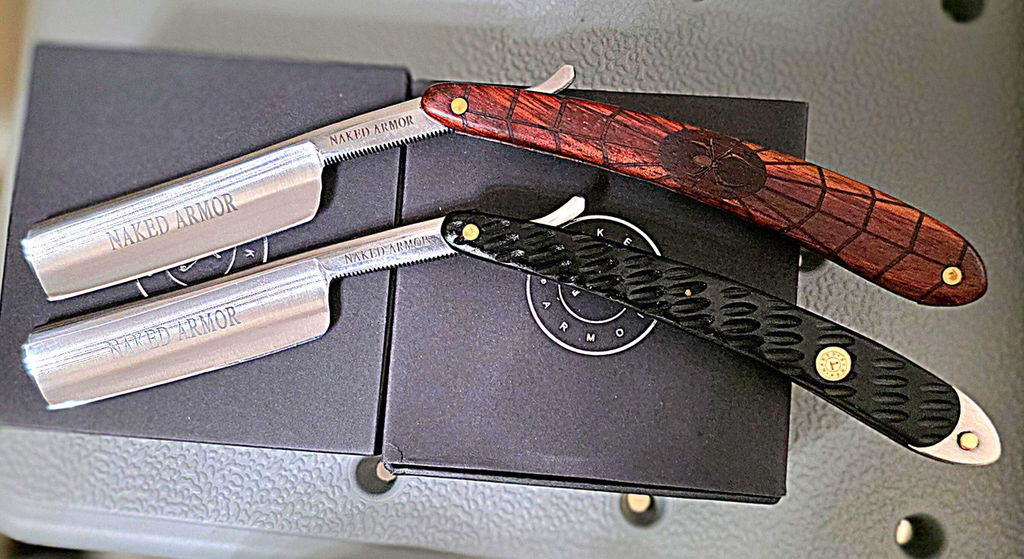
Straight Razor
A straight razor is a traditional shaving device with a blade that folds back into its handle when not in use. Its distinctive design embodies a one-edged blade attached to its handle through a pin.
-
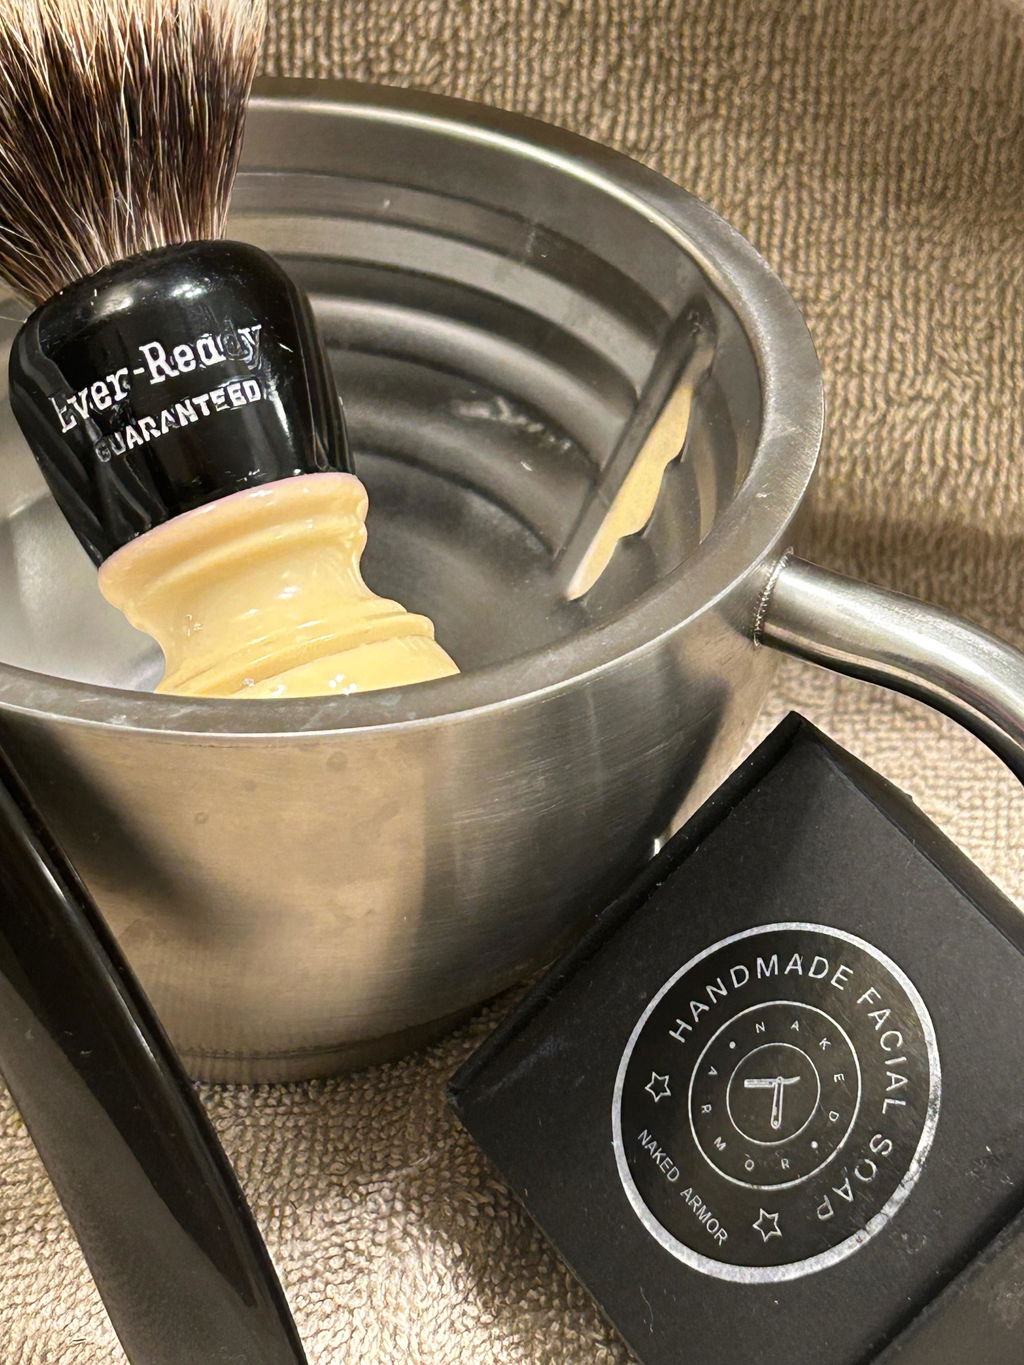
Shaving Brush
A shaving brush is a tool used to prepare your facial hair for shaving, lather shave soap, apply the foam, and exfoliate your skin. It is usually made of animal or synthetic hair for its bristles, which can soak up water and dry quickly after use.
-
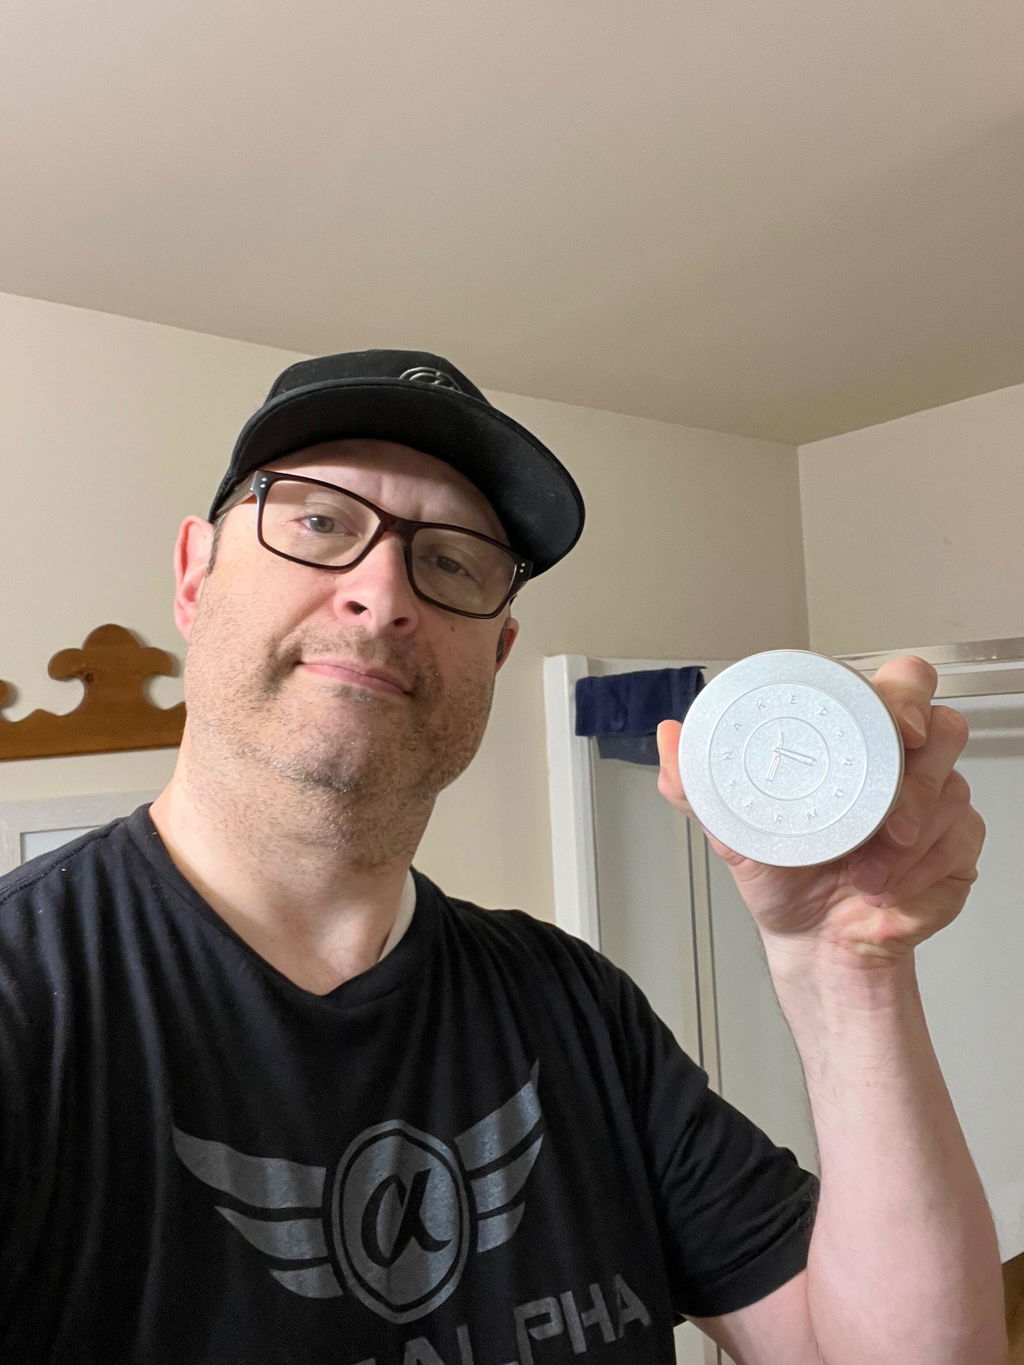
Shaving Soap
The soap specifically designed for creating a lather during shaving is called shaving soap. It yields a thicker foam because it has low alkalinity and high fat content, typically derived from plants and animals. It is also packed with essential oils, especially if you opt for an organic one, which moisturizes your skin and softens your hair follicles.
-
Leather Strop
A strop is usually a strip of leather with an abrasive surface. It is used to realign the small deformations that happen at the blade’s edge during shaving. It is more of a fine-tuning process that keeps the edge of your blade sharp between uses.
-
Sharpening Paste
Strop sharpening pastes are abrasive compounds used in the final stages of sharpening. Its purpose is to achieve that polished and well-honed edge for your straight razor. The most common type and effective stropping paste is Chromium Oxide.
-
Aftershave
The product you apply to your skin after shaving is called an aftershave, which comes in various forms, including lotion, oil, gel, and balm. Aftershave helps hydrate your skin and disinfect microabrasions, cuts, and nicks, killing off acne-causing bacteria that can lead to major skin problems.
Further on, as you progress in your straight razor shaving skills, consider adding a shaving scuttle and a straight razor stand. They’re not necessarily as important as those products mentioned above, but they’re going to make your shaving experience even more pleasant.
How to Shave with a Straight Razor for Beginners

Most people find straight razor shaving overwhelming. Who would not? After all, straight razors are infamous for their cut-throat edge. Yet, that is not something that should hold you back from using this traditional grooming tool. Even shavettes and cartridge razors can give you a bloody cut if you are not careful.
On that note, since shaving with a straight razor is quite different from shaving with a disposable razor, we've prepared a step-by-step guide for beginners like you who are new to straight razor shaving. Everything you need to know, from pre-shave to post-shave, is found below.
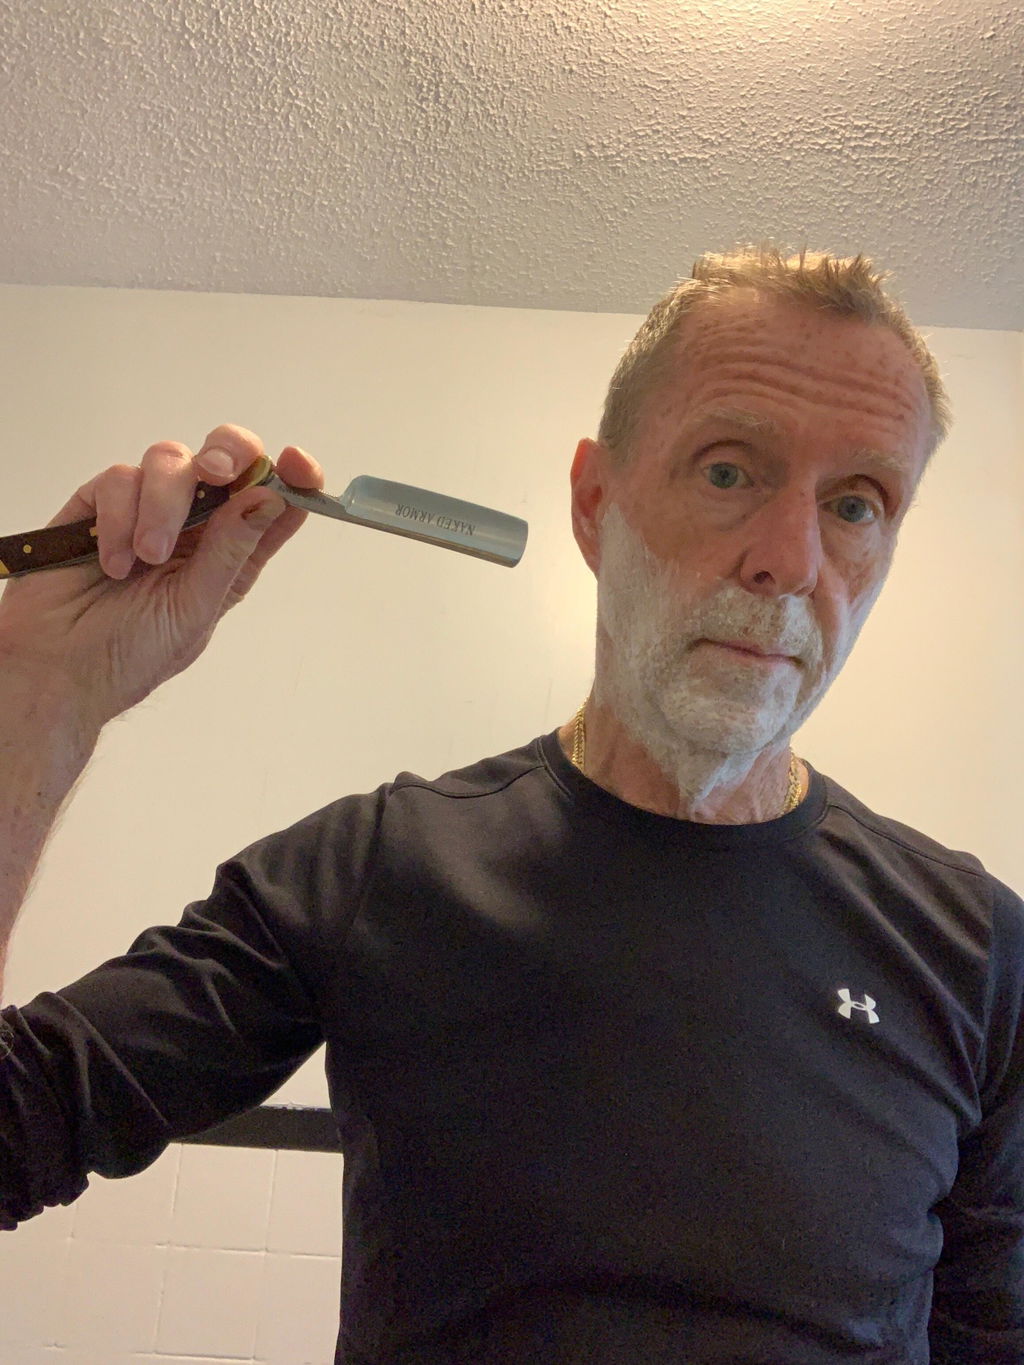
Preparing Your Razor

Naked Armor razors are ready to use for shaving right out of the box and are the best straight razor for beginners. Still, it is always best and proper to prepare your beginner’s straight razor by stropping it before wielding it on your face. Stropping aligns the razor blade, enabling you to achieve even results while shaving.
Although it may take time to learn how to strop properly, it is a crucial step that you need to incorporate into your shaving routine. Besides, there is no better time to get around to doing that than when you are about to take your first shave with a brand new straight razor. And since you will be stropping a lot, you will eventually get the hang of it.
There are numerous videos on YouTube featuring stropping tutorials. But, you can instead follow our How to Strop a Straight Razor guide, which technically tells you everything you need to know about stropping.
For your first attempt at stropping, do around 40 to 60 blade strokes on the strop. The basic rule of stropping is to maintain a light, fluid motion. If you use too much pressure, you could cut your strop or screw up the edge of your straight razor’s blade, which you want to avoid at all costs.
Preparing Your Face
Now that you have prepared the razor, it's time to prepare your face. This means washing your skin with hot water, softening the facial hair, so it is easier to cut through. It also opens up blocked skin pores, cleaning the dirt and dead skin cells while making the skin pliant for stretching.
There are three ways to do it: you can wash your face with hot water, apply a moist hot towel to your face for a few minutes, or take a hot shower. We recommend taking a hot shower for convenience and because it adds to the sense of luxury when shaving.
We also recommend applying pre-shave oil1 to moisturize the skin further and complete the luxurious wet shaving experience at home. However, if you don't have that on hand, water will suffice, or you can make one at home using this pre-shave oil recipe.
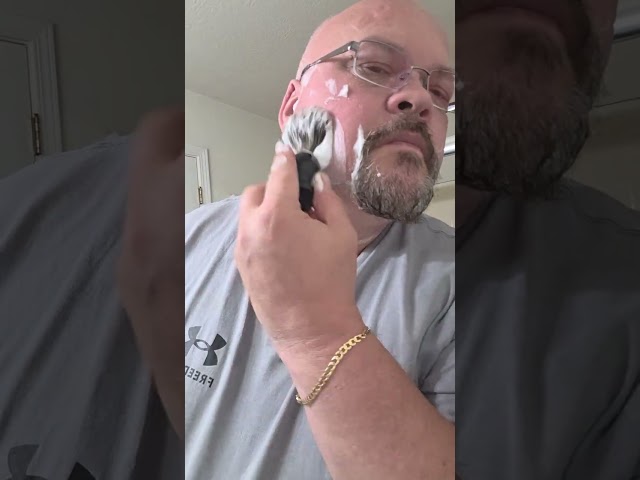
Creating and Applying Lather

Now comes the fun part, making the lather. Remember how much fun it looked when granddad was making lather and applying it to his chin? As it happens, it is also easy when using a shaving brush.
Just wet the shaving brush with warm water and gently shake off any excess moisture. You can tell it is good to go when it stops dripping. One of the benefits of a synthetic shaving brush, such as Naked Armor’s, is that it is non-absorbent, allowing for minimal soap and water to produce a fine and rich lather.
Let us use our Noah’s Organic Shave Soap to teach you how to create a lather:
- Open the can of Noah’s Organic Shave Soap that comes in every Naked Armor shaving kit, and soften the soap by placing a few drops of hot water on the surface.
- Lightly swirl the shaving brush over its surface for 10 to 15 seconds, or until some soap has transferred to the tips of the brush.
- Start working out a lather on your wet face by swirling the brush on your cheeks. After 30 seconds of swirling, you should now have a nice, thick lather. If it’s watery, swirl the brush over the soap again and continue swirling on the cheeks until it becomes thick. If it’s too thick, place a few drops of water on the tip of the brush and swirl again to achieve the correct volume of lather.
It is as easy as that! However, please note that this is the first level of lathering a shaving soap, making it ideal for those new to the process and using a beginner’s straight razor. Once you are comfortable and ready to enhance your skills, you can explore additional techniques for creating a shaving soap lather.
Holding the Straight Razor Properly

There is a proper way to hold a straight razor for an easier shaving experience. For beginners, we recommend practicing how to hold it properly, even before you start shaving with it, to minimize accidental cuts.
For reference, we recommend consulting our post on straight razor parts to familiarize yourself with the necessary terms.
Open the straight razor by swinging the handle up and placing your first finger on the razor’s shoulder with your thumb just outside its heel. Rest your second and third finger on the tang while putting your little finger on the tail to lock the handle between it and the third finger.
Now you are ready to shave.
Shaving 101

Shaving with a straight razor may seem intimidating at first, but with a clear path—literally—you’ll build skill and confidence in no time. The illustration above outlines the recommended shave routes based on hair growth patterns. For beginners, this step-by-step approach will help you ease into the art of straight razor shaving.
-
Week 1: Sideburn to Jaw (Zones 1 & 2)
Start with the simplest areas—your cheeks. Using the direction shown in the diagram (Zones 1 and 2), shave downward from your sideburns to your jawline. Avoid bending your wrist; instead, keep your strokes steady and controlled. Rinse the blade after every pass to maintain clarity and control.
-
Week 2: Neck Area (Zones 4 & 5)
Once you're comfortable with the cheeks, move to the neck. Stretch your skin gently and follow the upward and diagonal routes shown in Zones 4 and 5. Use light vertical strokes following the natural hair growth. This area is more sensitive, so take your time.
-
Week 3: Chin and Upper Lip (Zone 3)
The chin and philtrum (above the lip) are more challenging due to curves and thicker hair. Hold the blade vertically and follow the direction in Zone 3, working in small, smooth strokes. Don’t rush—re-lather and take extra care to avoid nicks in these contoured areas.
Tip: Everyone’s hair growth pattern is unique. The routes shown here are a general guide to follow with the grain of the hair. As you gain experience, you’ll learn where your hair grows in different directions and adjust your passes accordingly.
Putting an Aftershave

Most guys do not think it is essential, but there are benefits to putting on aftershave after every shaving routine.
An aftershave has a soothing effect on the skin. Traditionally, it contains alcohol and witch hazel, which act both as natural astringents and moisturizers. Some brands add other natural essential oils and vitamins to nourish the skin.
Always apply one after every shave, especially if you have accidentally cut and nicked yourself on the razor (which you surely will in your first month). It can help stop the bleeding by tightening the pores and aid in the healing of your cuts faster.
If you have dry or oily skin, applying an aftershave can help relieve dryness and kill off skin bacteria that may be clogging your pores. Here are some key considerations to keep in mind when selecting the right aftershave.
- If you have normal skin, a gel or liquid aftershave can be a good option.
- If your skin is oily, it's best to choose a lotion, gel, or liquid with moisturizing properties.
- If the air is dry and cold, or your skin is particularly dry, look for a balm that contains a moisturizer.
Avoid harmful ingredients2, such as the following:
- Triethanolamine (TEA)
- Artificial fragrance
- Polytetrafluoroethylene
- Butylated Hydroxytoluene (BHT)
- Sodium Lauryl Sulfate or Sodium Laureth Sulfate (SLS or SLES)
- Propylene glycol
We recommend using something organic, like Naked Armor’s Hemp Aftershave Balm, to ensure it is suitable for every skin type and won't irritate your skin. Unlike other aftershave products, our organic balm is packed with more than ten essential oils and vitamins to help soothe and cleanse your skin post-shave without the sting.
Also, remember to clean and store your straight razor properly after shaving. Proper maintenance is the key to keeping your razor in its best condition for a quality shave.
Be Patient and Practice
Like everything else in life, practice makes perfect. It may take you more than a month to get these basic steps right, but we assure you, you will get there eventually. Everyone has to start somewhere.
If you're looking for an informative video tutorial, check this out. It is our very first post on this site. If you'd like to explore our straight razor kits, you can find them here.
Related Articles About Straight Razor Shaving
Types of Straight Razors: Different Points
Benefits of Straight Razor Shaving: Pros, Cons, Costs
How to Get a Close Shave with a Straight Razor
References
- The Amazing Benefits of Pre-Shave Oil. (n.d.). Vitaman. https://www.vitaman.com.au/blogs/v-male/the-amazing-benefits-of-pre-shave-oil
- Jain, Suramya. (2023, March 01). 10 Harmful Ingredients to Avoid in Skincare. Moody. https://trymoody.com/blogs/news/10-harmful-ingredients-to-avoid-in-skincare


Look easy, practice make perfection, waiting my naked armor razor to start the journey….
Leave a comment