


Mapping Facial Hair Growth for Traditional Shaving

Top Image©ClaudeAI.uk
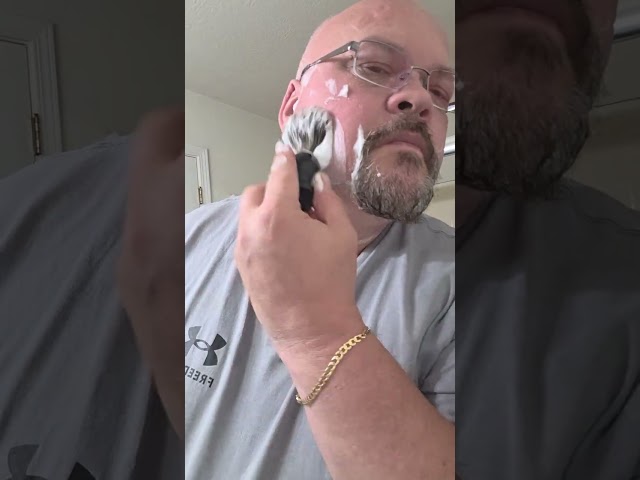
Ask any experienced shaver, and they will tell you that mapping how your facial hair grows and identifying your hair growth patterns are the first steps to elevating your wet shaving technique for a smoother shave.
The second part of the equation is choosing the right shaving tool for your lifestyle and skin type. Regardless of whether it's a double-edge safety razor, straight razor, shaving soap, or shaving cream, understanding how your facial hair grows and its patterns can be a game-changer, delivering an irritation-free, clean shave without razor bumps, burns, and ingrown hairs.
-
The Technical Art of Wet Shaving
- Step-by-Step Wet Shaving Routine
- Determining Facial Hair Growth
- Shaving with the Grain Vs. Against the Grain Vs. Across the Grain
- How to Map Your Face and Beard Grain Before Shaving
- How Many Passes: Single Pass, a Second Pass, or Multiple Passes
- Wet Shave Vs. Dry Shave
- To Bow Down or Yield: How Much Pressure Should You Apply When Shaving
- Straight Razor Vs. Safety Razor Vs. Cartridge Razor
- Your Wet Shaving Checklist
- The Key Takeaways
The Technical Art of Wet Shaving
 Wet shaving transforms a daily chore into a mindful, skillful ritual.
Today’s hustle culture makes most men complacent with the most convenient shaving tools and techniques. Relearning the art of traditional shaving is the key to having a baby butt smooth shaving—and it all starts with face mapping.
The history of straight razor shaving and wet shaving can be traced back to ancient times, well before modern safety razors, electric clippers, and cartridge razor systems with built-in lubricant strips. During the heyday of traditional shaving, it was a cardinal sin to use a shaving instrument on dry, unprepped skin without cream or soap. This is why, in the past, barbers were also the local surgeons and the only ones trusted to offer a great shave and traditional grooming.
The technical art of wet shaving at home is a relatively modern development, as a modern gentleman and participant in the resurgence of traditional shaving. To elevate our techniques, we must look to the past and study the inner workings of a shave for better results.
Shaving is more than just using your razor on wet skin and hair. The art of shaving for a smooth shave is a holistic, step-by-step process that starts with an excellent traditional razor and a rich, luxurious lather to help the blade glide seamlessly and achieve a skin-level shave, which you cannot get with just water. Don't worry, guys, this is gonna be fun!
Step-by-Step Wet Shaving Routine
- If you are using a straight razor, hone and strop first. If not, skip this part.
- Prepare your facial hair or beard and your skin by using a warm towel or taking a warm shower.
- Apply pre-shave oil, cream, or gel to prevent skin dehydration from prolonged water exposure.
- Bloom your shaving soap with your shaving brush and a small amount of water to hydrate the lather.
- If you're using a scuttle, put warm water inside its bottom chamber. Otherwise, rinse the shaving bowl with warm water.
- Whisk vigorously until you reach your desired lather consistency. A good way to test the hydration of your soap or cream is the suction method: pressing the brush against your face with the lather and slightly lifting it creates a suction cup effect. This means your lather is perfectly hydrated. Of course, you may add more water if preferred.
- Apply the lather evenly on all areas you will shave; mapping the face will come afterward.
- Shave your facial hair while following the map of how your hair grows on your face, and repeat the process as needed. Multiple passes are fine; just make sure to use the lightest pressure on the skin.
- Rinse and clean the lather and hair debris off the razor blade after each pass.
- Rinse your face.
- Apply your post-shave care and hydration to cool and soothe your skin from any irritation.
Determining Facial Hair Growth
Your beard grows according to the specific area on the face, wherein it follows particular hair growth patterns that will determine your shaving directions. The growth starts in the upper lip area, then spreads to the sideburns, chin, cheeks, and neck. Some facial hair growth will be upward, downward, or in a circular, crop-like pattern.
The growth of your facial hair and beard determines your facial hair grain, which is unique to you. A gentleman’s facial hair and hair growth patterns are determined during the beginning of the beard growth stages. Begin by letting your facial hair grow from stubble, then observe how each strand develops on your face in each section.
But not everyone has a keen, sharp eye and the patience to check each strand of facial hair. If that seems challenging, here are more crafty ways to find out how hairs grow.
-
The Playing Card Method
Slide a playing card or a similar object, such as a credit card, against your skin with the gentlest pressure. Find the direction of your facial hair that does not shake or give any audible feedback chatter, and follow that as the direction of your hair grain.
-
The Cotton Ball Method
This is quite simple. Run a cotton ball down the pattern of facial hair growth. If it gets stuck, you’re going against the grain. If the cotton ball runs smoothly, then you're going with the grain, and that is your directional map.
Shaving with the Grain Vs. Against the Grain Vs. Across the Grain
Now that you've identified your grain pattern, the next challenge is deciding whether to shave with, against, or across the grain. Every man’s beard is unique, so there is no absolute rule. Even the most experienced shavers still have to reach a final decision. Truthfully, it’s a personal choice. The debate is that shaving against the grain causes more irritation by pulling the hair follicle up and away from the skin. Therefore, if you have thin skin or sensitive skin, it's best to shave with the grain.
To get you on the right path, here are the different directions of shaving:
- Shaving with the grain (WTG) - shaving while following the direction of hair growth.
- Shaving against the grain (ATG) - shaving in the opposite direction of hair growth.
- Shaving across the grain (XTG) - shaving at a 90° angle while shaving WTG or ATG.
Each strand of your beard grows at a different rate in different areas of your face. So, it is not wise to use a single shaving direction for your cheeks, chin, neck, and the area around your mouth. To ensure your shaving instrument works efficiently, map your face, follow the grain passes, and shave in the direction of growth.
Once you know the grain of your facial hair, you can proceed to face mapping.
How to Map Your Face and Beard Grain Before Shaving

- Create a lather using your shaving soap with a brush. Ensure it is thick to facilitate the subsequent process.
- Apply the lather on the face evenly and generously using a circular motion.
- Lay a guideline where you can easily see it. Create lines across your face following the guidelines, using your fingers to divide each area.
- Use the up/down and left/right arrows to determine the shaving direction for each section.
Although shaving against the grain1 may seem like the best way to get a close shave at skin level, it is not advisable to do so on the first pass, as it is more aggressive and can result in irritation and razor burn. Instead, start shaving in the direction your hair grows, then progress to a more aggressive grain pass (WTG, ATG, XTG) to remove the leftover stubble.
The shorter stubble will be easier for the blade to cut than coarse hair. In turn, there will be fewer skin irritations and a reduced risk of razor burn, bumps, and ingrown hairs, regardless of the razor used.
How Many Passes: Single Pass, a Second Pass, or Multiple Passes
Most shavers, including beginners, think that the more they shave on a particular spot, the smoother the shave will be. Hello razor burn! But as you grow older and gain more understanding of what triggers your post-shave irritations, you start to wonder: how many passes is enough?
When it comes to shaving, is a single pass better than two or multiple passes2?
If you are shaving your facial hair with the grain, you will definitely need a second or third pass and, if preferred, against the grain to ensure there is no leftover stubble. However, you can get away with a single pass if you have a high-quality straight razor, shavette, or even an aggressive safety razor with a fresh razor-sharp blade. Still, the rule of thumb is not to go beyond three.
Wet Shave Vs. Dry Shave
Everyone dreams of a quick and irritation-free shave. Modern technology may have led men to believe that shaving is a risk-free option, with no post-shave consequences. However, unless we live in a utopian reality, those two would not just work.
The secret to things that last and stay in their prime is to keep them well-maintained. The same goes for your skin. Remember that razor blades are sharp, and shaving on unprotected skin will obviously result in nasty problems.
Wet shaving is always best if you are after a smooth and close shave. All the preparatory processes, like covering the face with a hot towel, applying pre-shave oil, and lathering, help moisturize the skin and beard. It makes the razor glide cleanly and smoothly, reducing blade-to-skin friction, resulting in an irritation-free shave and minimizing razor burn.
To Bow Down or Yield: How Much Pressure Should You Apply When Shaving
More pressure doesn't always mean a closer shave—it depends on your razor and technique. So, do know when to bow down or yield when shaving to protect your skin and prevent irritations.
Again, safety razors come in different aggressiveness. If you are after a mild shave, it is best to use an adjustable or closed-comb safety razor. The adjustable design lets you control the aggressiveness of your razor, while the closed-comb design covers more of the blade’s edge to provide a milder shave. Otherwise, opt for an open comb DE razor.
For straight razor and shavette users, let the razor do the work. Remember, you are using a cutthroat blade with an overly exposed edge. One simple mistake could lead to a bloody mess. Hence, use light pressure when shaving with a traditional single-edge blade and let gravity and the razor’s heft determine how light-handed you should be.
Straight Razor Vs. Safety Razor Vs. Cartridge Razor

Finding the right razor can make all the difference between irritation and perfection.
Photo by Gutzemberg on Depositphotos
Mastering the art of shaving starts with the kind of tool you use. You can opt for a straight razor if you are feeling traditional or go for more familiar options, like the safety razor and cartridge razor.
-
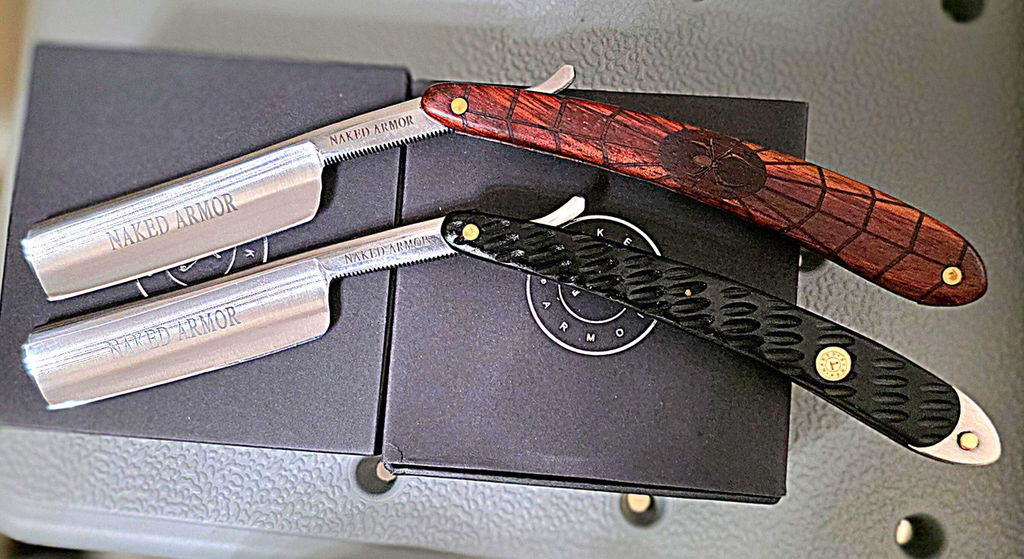
Straight Razor
A straight razor is the pioneer of all wet shaving tools. It has a classic single-edge blade attached to a handle via a pivot pin, which gives the razor its defining pivoted mechanism: the blade closes into the handle when the razor is idle.
Straight razor blades are made from high-quality, moisture- and water-resistant materials, such as stainless steel, high-carbon steel, and Damascus steel. These razors are built to last. They are knives, after all. Therefore, they are sustainable and can be sharpened or honed once dull.
-
Safety Razor
Safety razors feature a more modern design, with disposable double-edge blades that are economical and environmentally friendly. Did you know that all the plastic ever created still exists today? This is why safety razors are making a big comeback.
Modern double-edge safety razors come in several styles: fully adjustable designs with a dial, or two- or three-piece designs with the basic parts—the top, handle, and base—each of which can be disassembled from the others. These designs determine how the user will change the blade and the razor’s aggressiveness.
-
Cartridge Razor
On the other hand, cartridge razors have fully detachable heads housing more than a single blade. It requires men to throw the cartridge when the blades get dull and replace it with a new set. However, some users have found it more expensive to replace the head than buy a new cartridge razor, defeating the design’s overall purpose.
Cartridge razors are best known for their multiple-blade design, which Gillette first introduced. The most common cartridge razors have at least two to three blades. These were marketed to the masses as the secret to a close shave, in which the first layer of blades lifts the hair off the skin, and succeeding blades cut it.
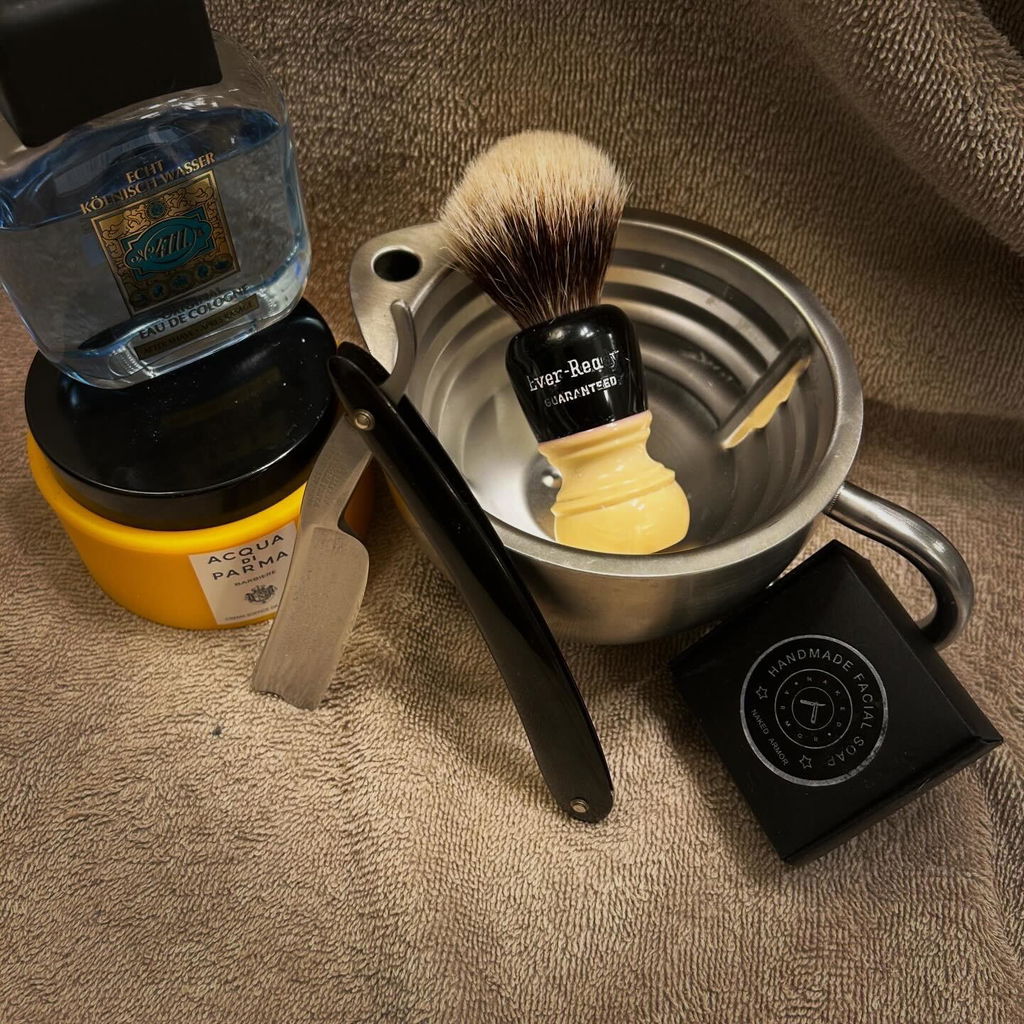
Your Wet Shaving Checklist
Now that you’ve got the basics down and all the precautions needed, you are ready to complete your set of shaving gear. Here’s a checklist of all the tools you will need to achieve a barber-like experience at home:
- Pre-shave oil or gel - plant-based carrier oil or gel with essential oils
- Shaving soap - cold-pressed soap with natural high-fat content and low alkalinity
- Scuttle or shaving mug - ceramic/steel/porcelain mugs with great heat-retention properties
- Shaving brush - traditionally comes with a wooden handle and stiff animal hair bristles
- Razor - single-bladed razors, like straight razors, shavettes, and safety razors
- Aftershave - moisturizing antiseptics to prevent and treat post-shave irritations
Pre-Shave Oil or Gel
Applying a layer of pre-shave oil or gel will prevent your skin from drying out. The oil will keep the surface moisturized and nourished while providing an added layer of protection against an aggressive razor. It also helps hydrate dry, flaky skin, preventing clogging and ensuring a smoother shave.
Shaving Soap
Use a cold-pressed shaving soap with natural ingredients, high-fat content, and low alkalinity instead. It is important to get technical with your soap, as this will form the foundation of your wet shaving process—the lather.
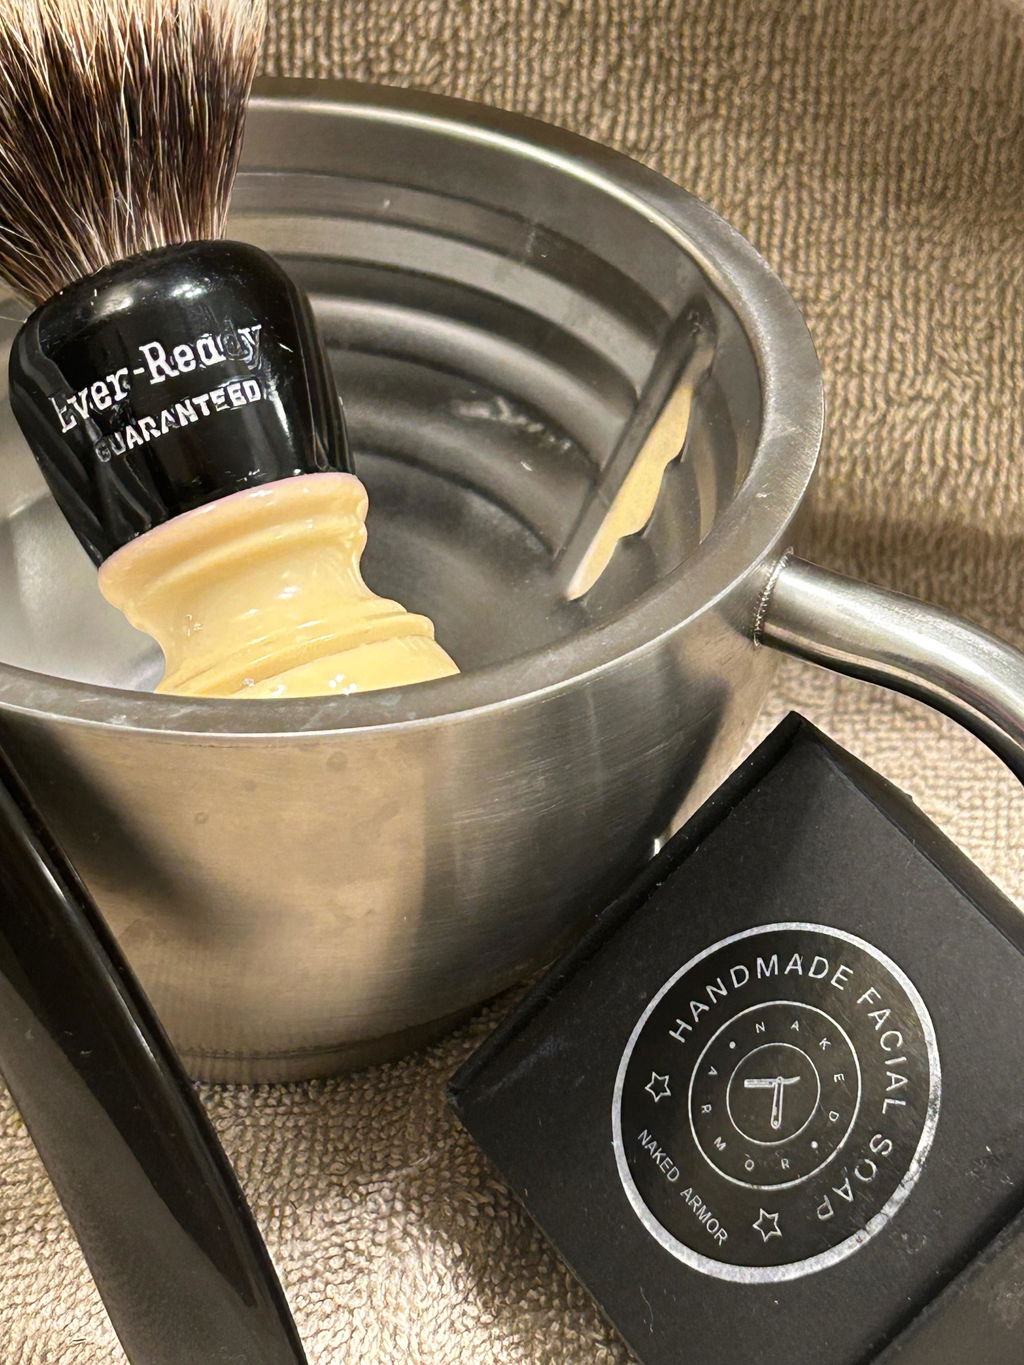
Scuttle or Shaving Mug or Shaving Bowl
Shaving mugs resemble a typical kitchen bowl. The defining difference is that it is molded from ceramic, porcelain, or similar materials with excellent heat-retention properties, and it fits most shave pucks.
On the other hand, a scuttle is a two-chambered shaving mug, similarly crafted using the same materials but with a cork or plastic stopper to keep the hot water warm. The upper chamber is for creating and holding the lather, and the bottom chamber is for housing hot water that will keep your lather warm—the very essence of a barber-like shave.
Shaving Brush
You cannot lather a shaving soap without a brush, which is why adding a shaving brush3 to your shaving kit is crucial. Although you can try lathering by hand, we doubt it will give you even, great results.
Shaving brushes have four main bristle types: badger, boar, horse, and synthetic. Natural animal bristles are graded based on their manufacturing and sourcing processes. The brushes’ qualities are also defined by their loft, knot, and overall height, with larger brushes offering more coverage and smaller brushes guaranteeing more precision.
Razor
Wet shaving works well with traditional single-blade razors, like straight razors, shavettes, and safety razors. Their designs and blade quality deliver close, smooth skin-level shaving in a few passes. The faster and more efficiently they get the job done, the less irritation appears after shaving.
Post Shave Ritual
Whether you dry shave or wet shave, aftershave is a must-have product that should never go missing from your grooming kit. Aftershaves4 are the secret ingredient and are often the first-aid solution to preventing and treating post-shave skin irritations, like razor burn and bumps. These products could either be in the form of a lightweight splash, cologne, lotion, or a rich balm.
The natural antimicrobial and astringent properties calm inflamed skin and kill bacteria that can cause serious infections to open micro-abrasions. Splash and colognes are excellent for mild hydration on sensitive to normal skin types after shaving. At the same time, thicker formulations, such as lotions and balms, are ideal for dry skin that needs extra nourishment.
As men, investing in a complete grooming kit may seem tedious. If you are tired of dealing with bumpy, irritated skin after shaving, make sure you have all these wet shaving essentials on your counter.
For severe cases of razor burn or simply to cool your face, I highly recommend a trusty alum block. Used for thousands of years for many different purposes, the alum block is a shaver’s best friend. For those nasty nicks and cuts, nothing works better than a styptic pencil.
The Key Takeaways
There is no better way to get a smooth shave without trouble than following the art of wet shaving. It may take some learning curve and a slower routine, but it will be worth it when you get a baby butt smooth shave.
Traditional and single-blade razors—such as straight razors, shavettes, and safety razors—are your best companions on your wet shaving journey. Unlike modern plastic and disposable razors with multiple blades, these shaving tools can last for generations, making them a perfect family heirloom when well cared for.
Do not forget your pre-shave ritual, especially mapping the face—unless you get to the level of an expert shaver. As a beginner, this guide will help you find the best shaving direction for your beard growth or facial hair grain.
Related Articles
Guide to Traditional Wet Shaving
How to Get the Closest Shave of Your Life
How to Get a Barber’s Hot Shave at Home
References
- BC007. (2017, February 16). Shaving Against The Grain. Badger & Blade. https://www.badgerandblade.com/forum/threads/shaving-against-the-grain.513067/
- bad06denby. (2016, July 8). How many passes do YOU do? Reddit. https://www.reddit.com/r/wicked_edge/comments/4rtslr/how_many_passes_do_you_do/
- Shaving Brush Types & Bristles: Different Brush Shapes & Materials. (n.d.). Bespoke Unit. https://bespokeunit.com/shaving/brushes/bristles/
- Jewell, T. (2020, June 12). What You Need to Know About Aftershave. Healthline. https://www.healthline.com/health/what-does-aftershave-do


Leave a comment